- Downloaded
- 135.2 GB
- Uploaded
- 13.1 TB
- Ratio
- 99.13
- Seedbonus
- 251,300
- Upload Count
- 265 (300)
Member for 9 years
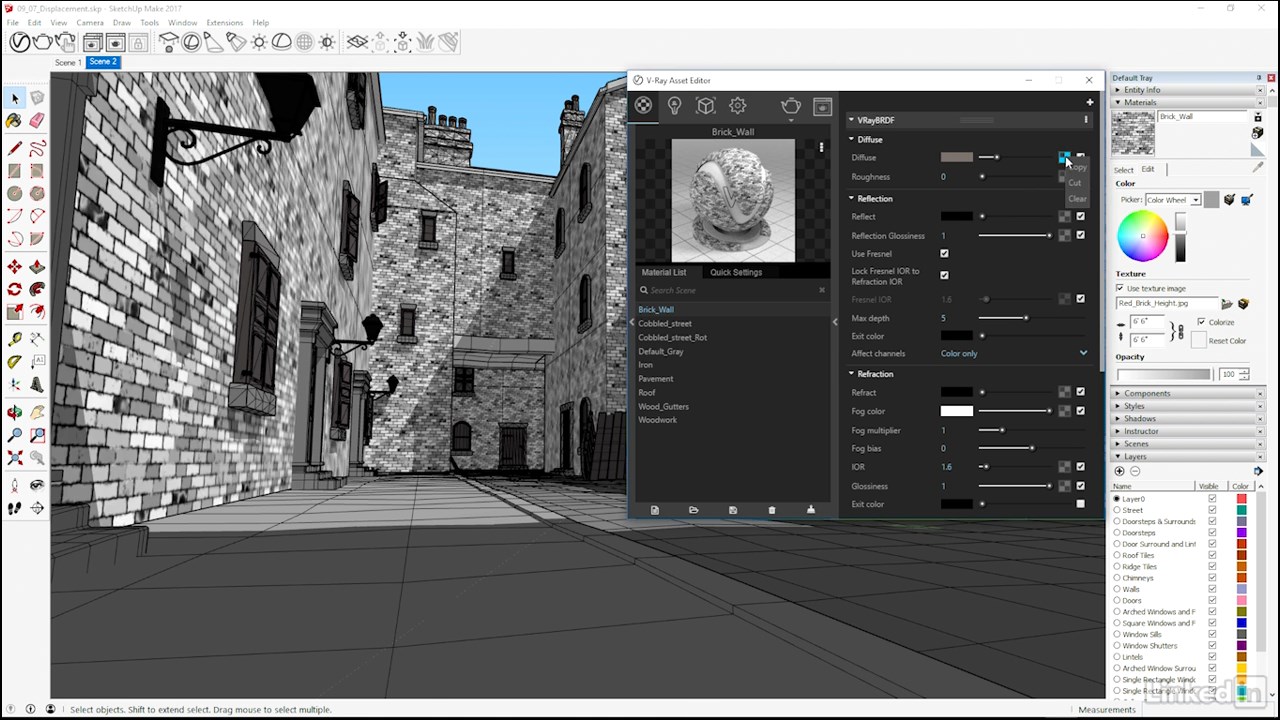
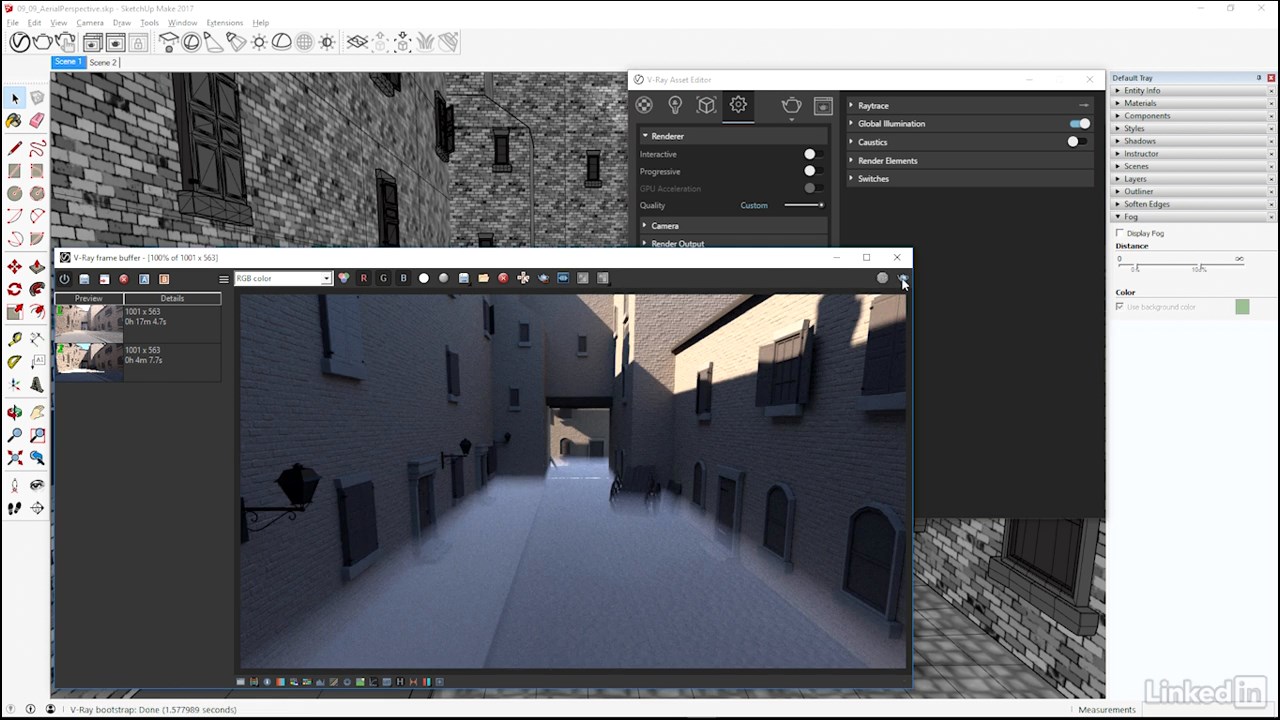
[LinkedIn] SketchUp: Rendering with V-Ray 3
MP4 | Video: h264, 1280x720 | Audio: AAC, 48.000 KHz
Language: English | Size: 2.60 GB | Duration: 04h 15m
- [Brian] Hello there. My name is Brian Bradley, and I am really looking forward in this course to taking a look at how we can make use of the extremely powerful V-Ray 3 render engine as a lighting and rendering solution in SketchUp. As the course has partly been designed to help newer users get up and running with V-Ray,
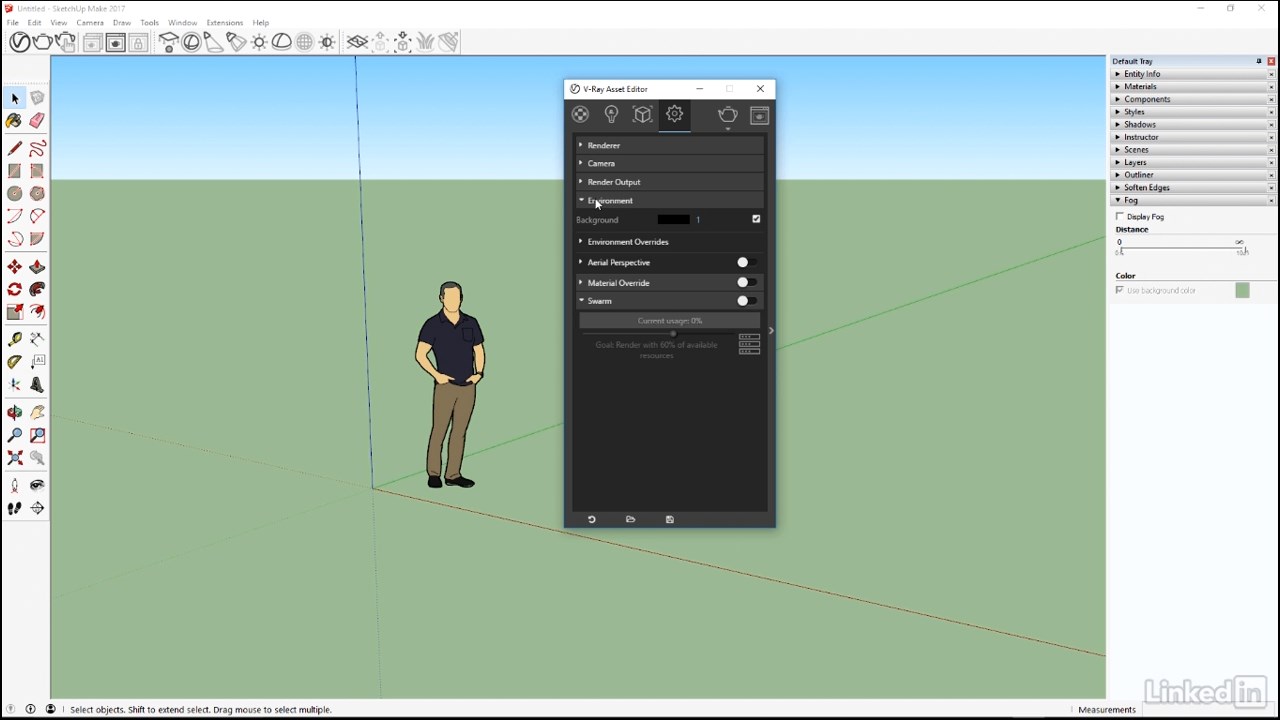
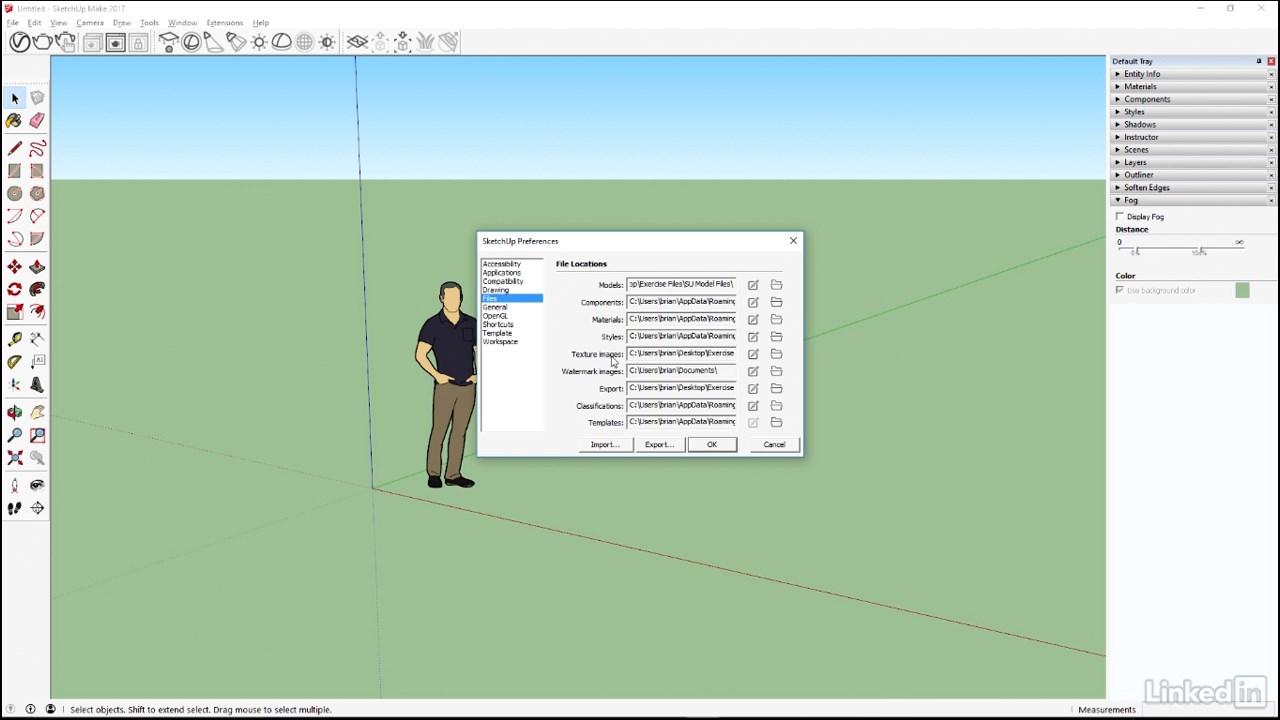
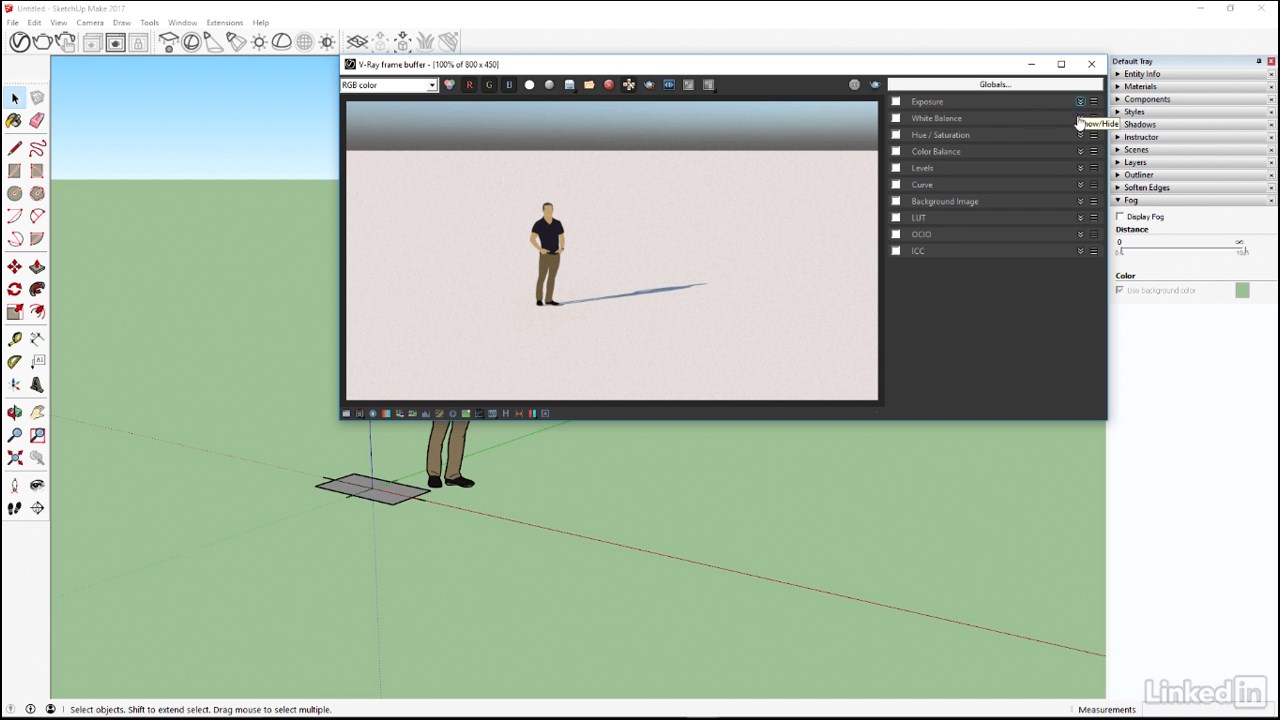
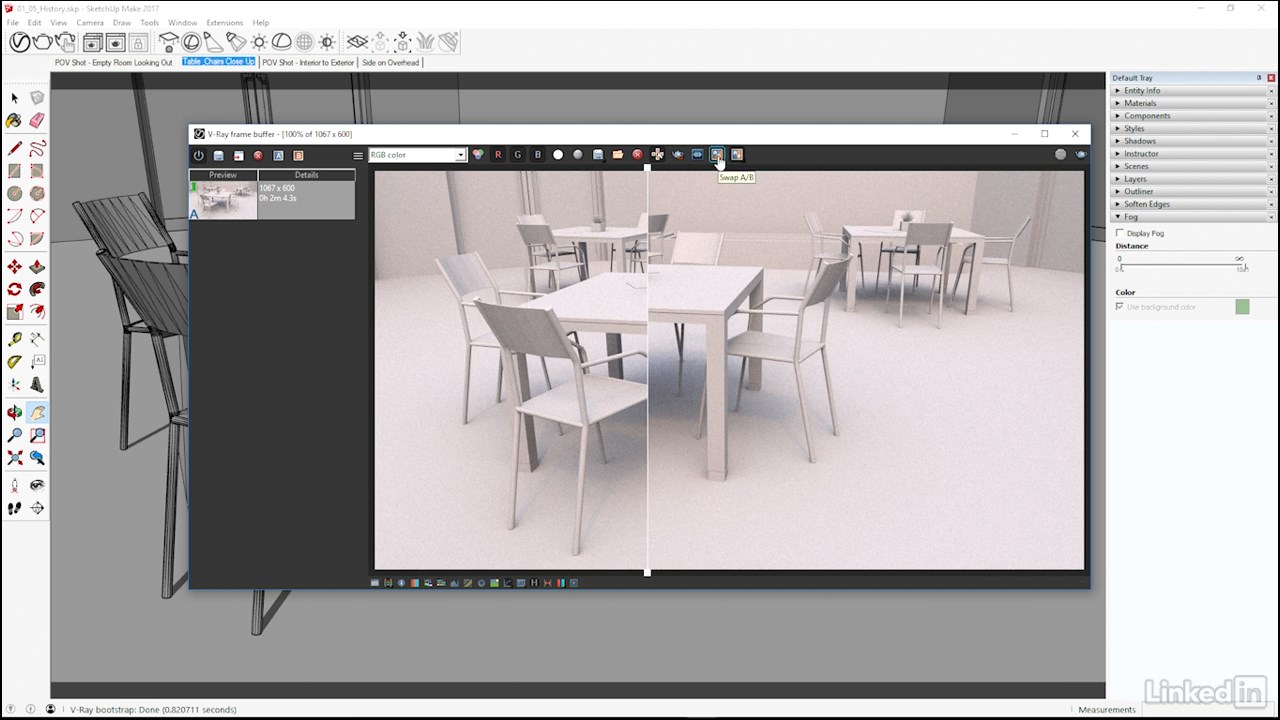
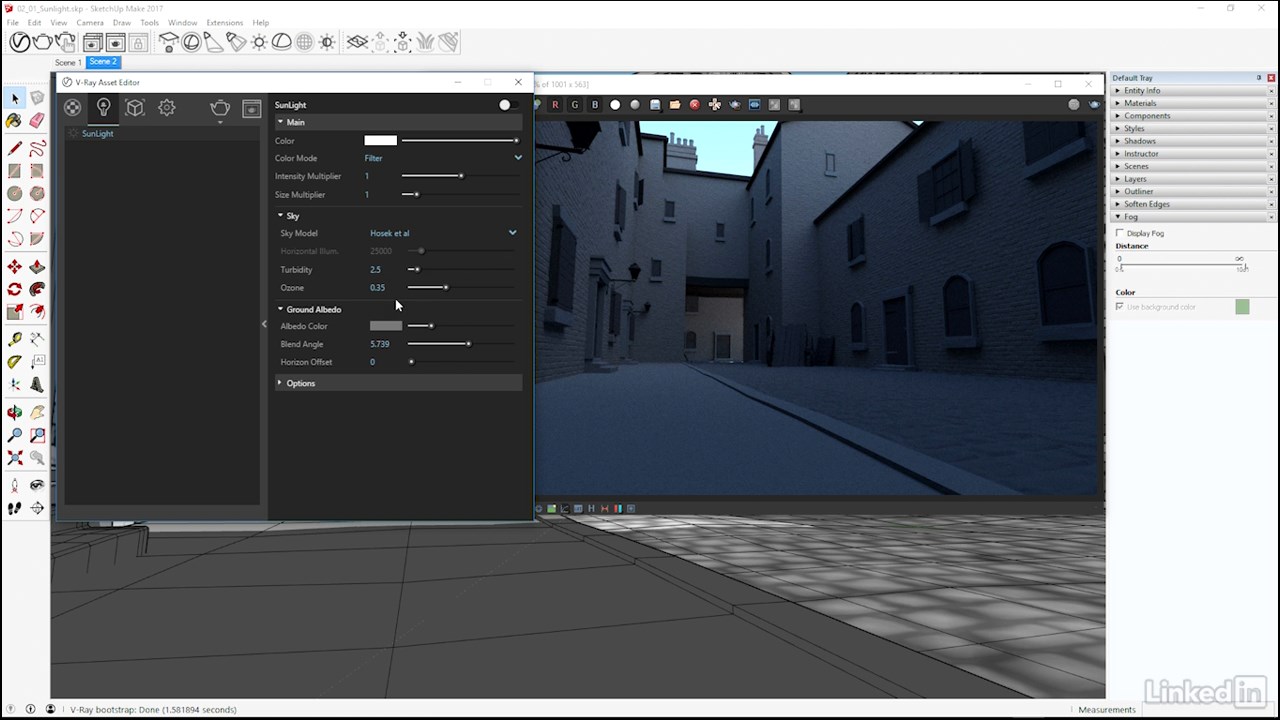
we will take a look in Chapter One at how and where we can find V-Ray tools and controls inside the SketchUp user interface, as well as having a good look at the controls found on the V-Ray frame buffer window, as well. We can then move on to V-Ray's extremely powerful and versatile lighting tools, learning essentially how to add illumination to our scenes.
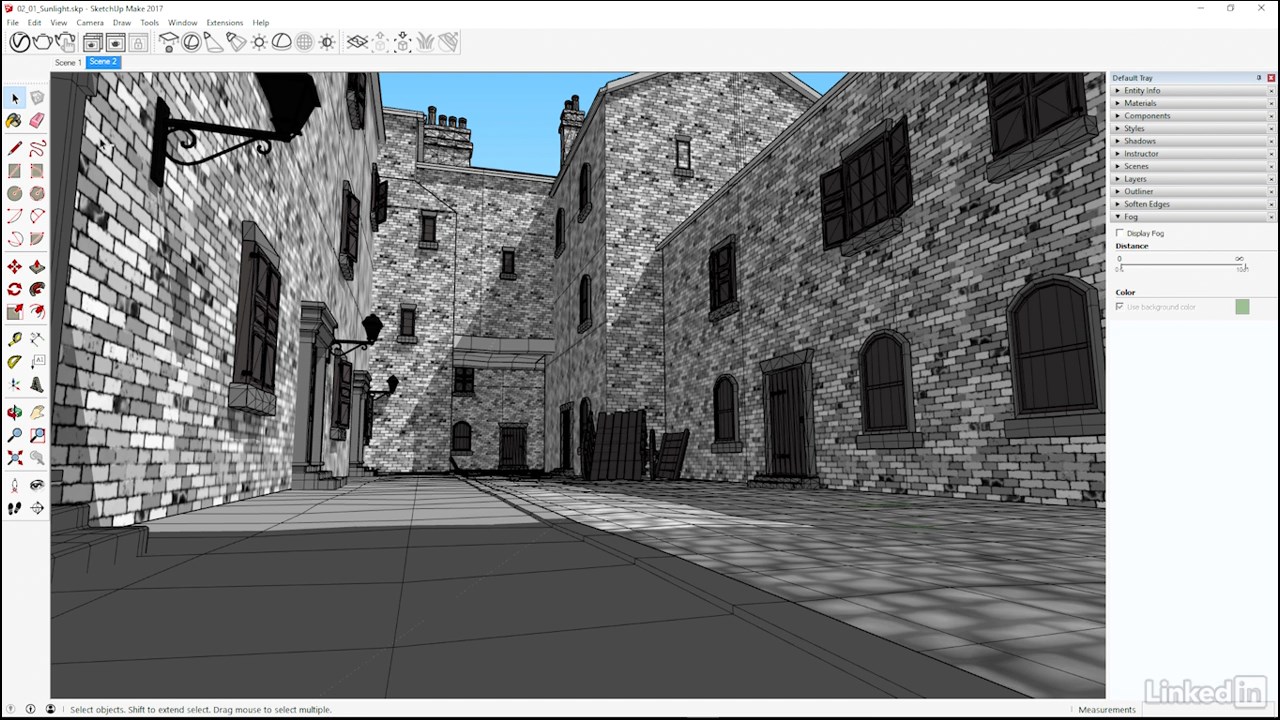
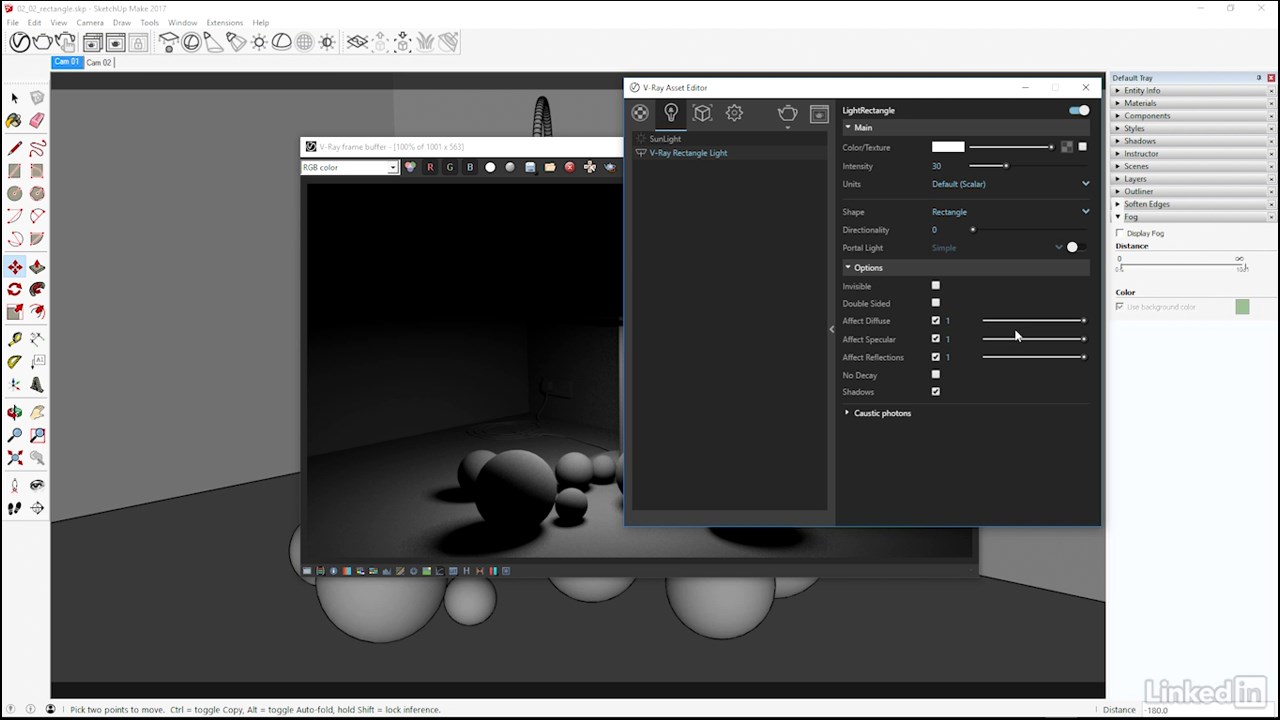
This will include an examination of the V-Ray sun and sky options that can be used to add natural looking daylight to our renders, as well as at the V-Ray light types that can be used to mimic more artificial looking, or manmade light sources.
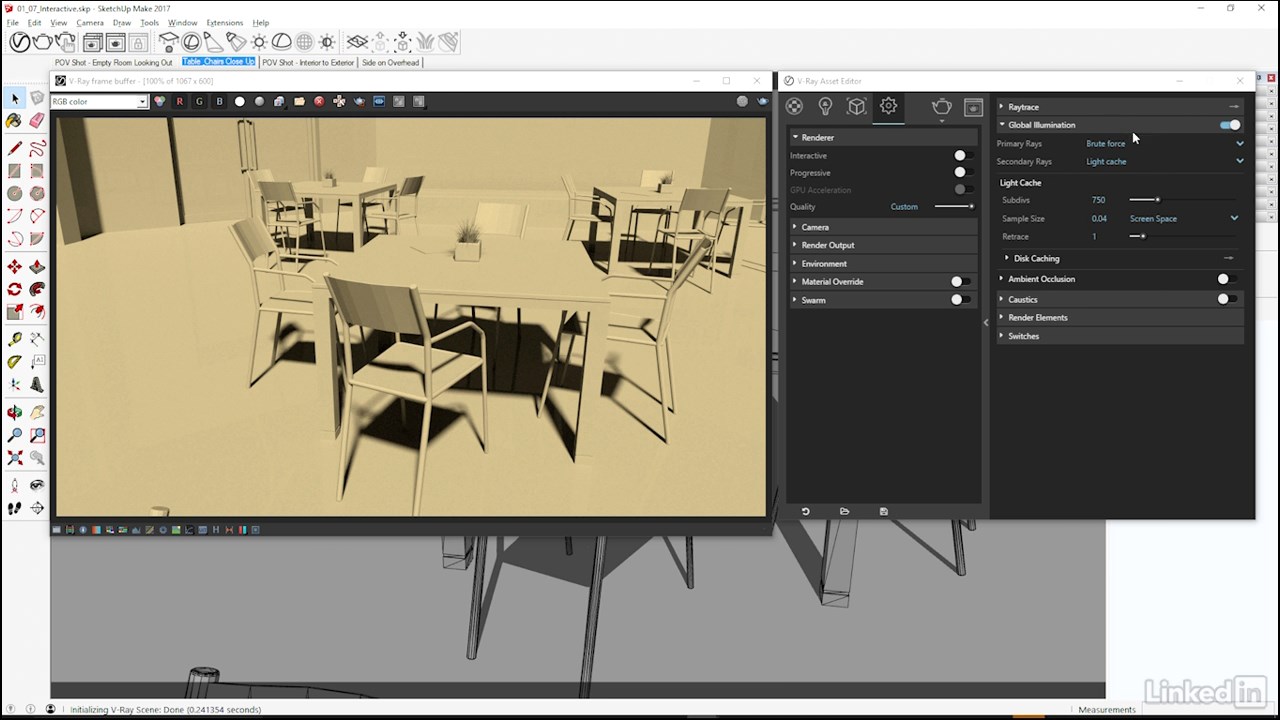
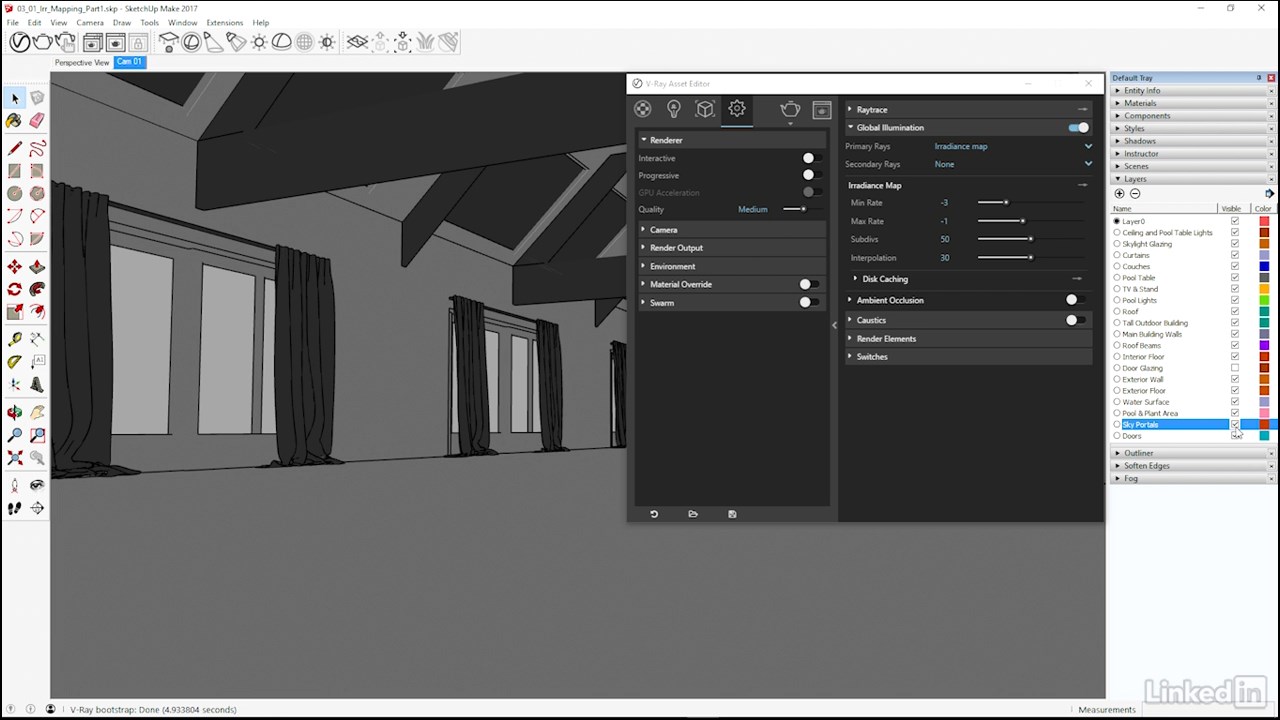
Global illumination is, of course, an extremely important aspect of photographic lighting and rendering, and so we will for sure want to spend some time working with V-Ray's powerful GI systems, which will help round out our understanding of the lighting tools available in V-Ray.
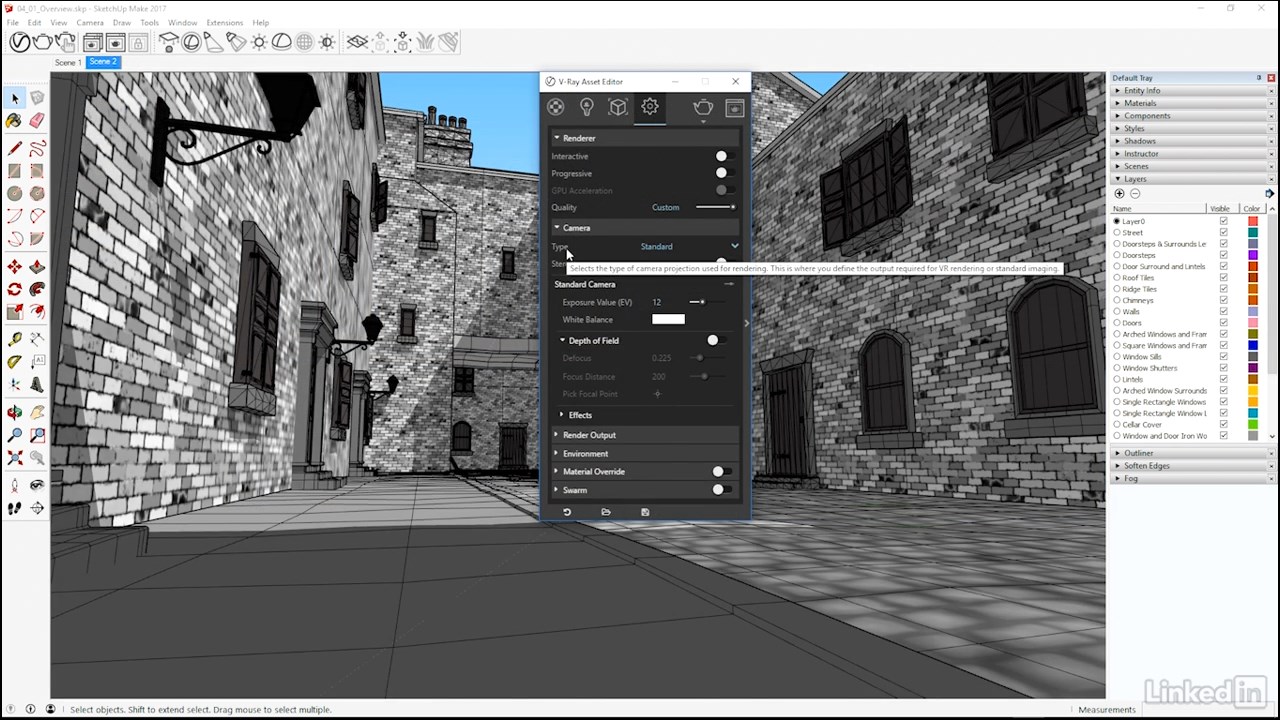
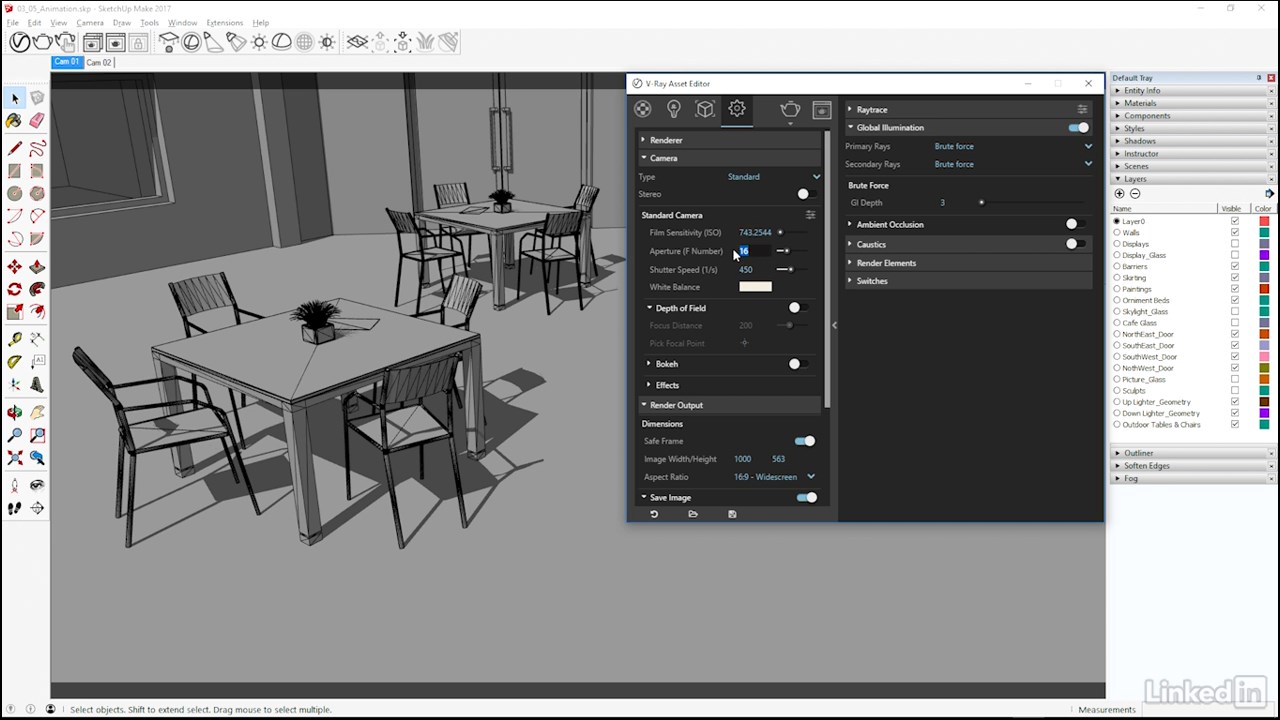
As we are going to be utilizing V-Ray as a virtual photography studio, it does seem fitting that we take a good look at V-Ray's physical camera model.
This will include learning how to handle exposure on the camera, as well as at adding perspective correction, and depth of field effects to our renders.
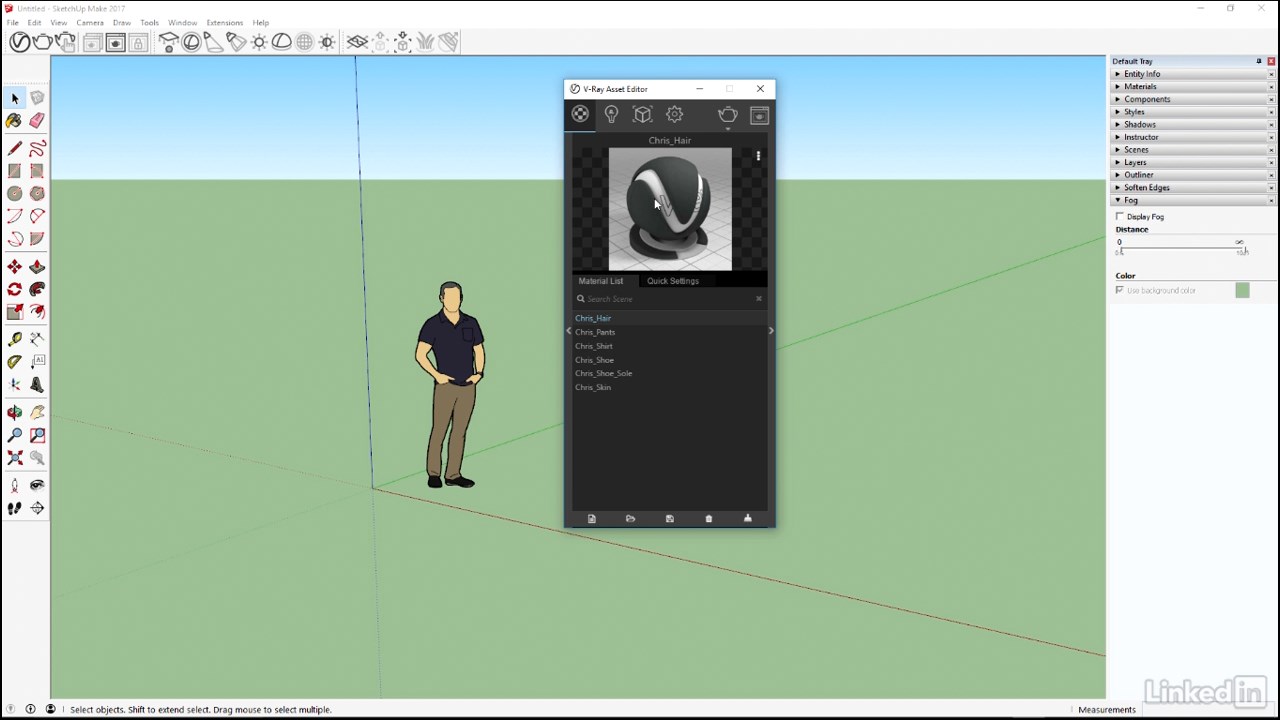
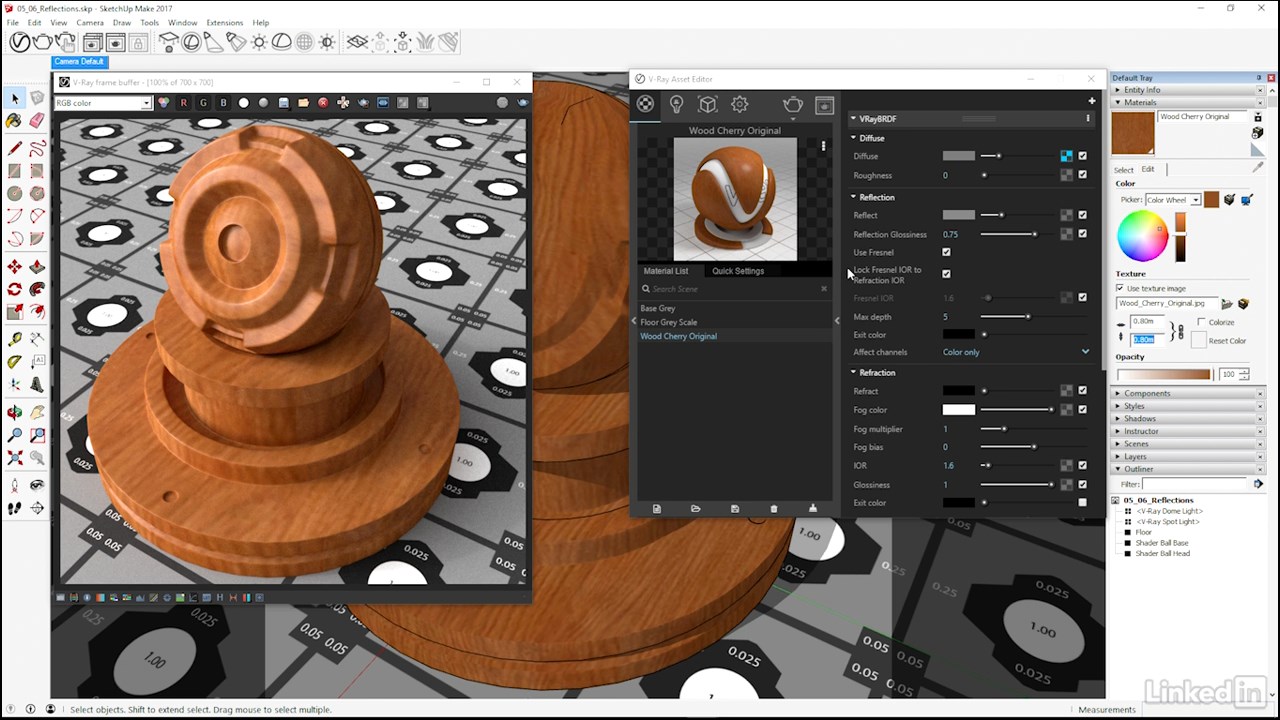
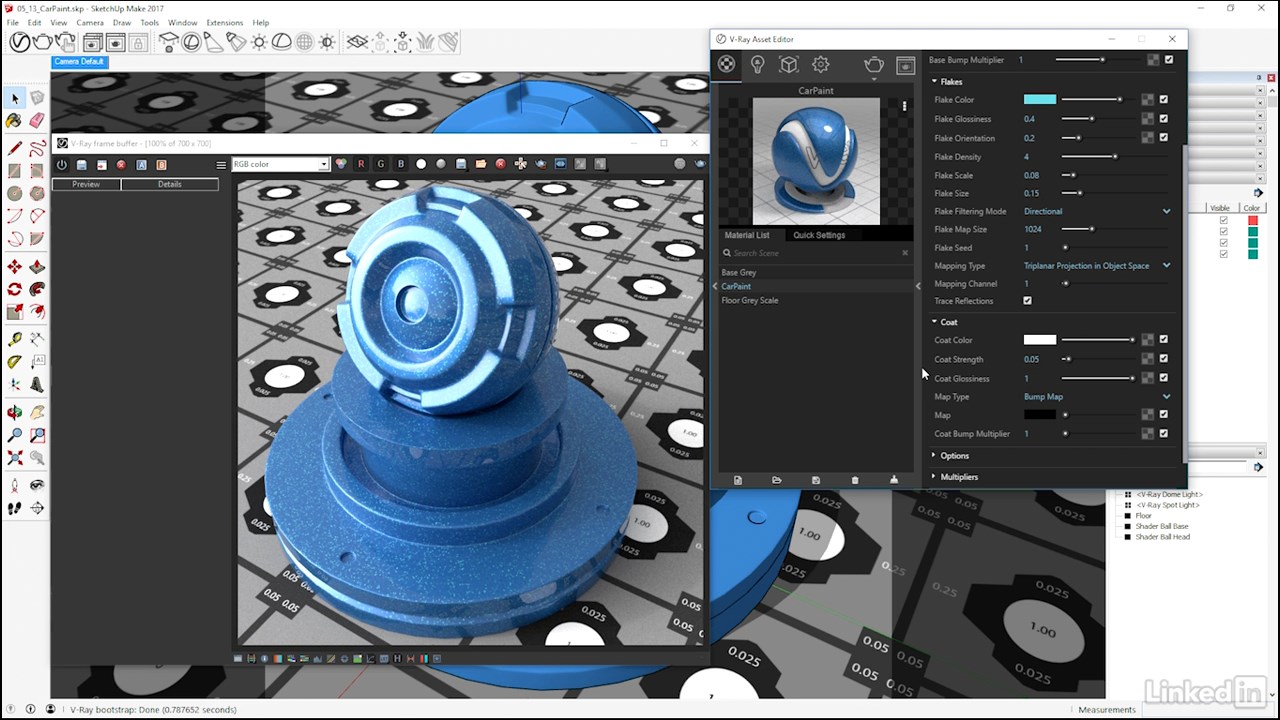
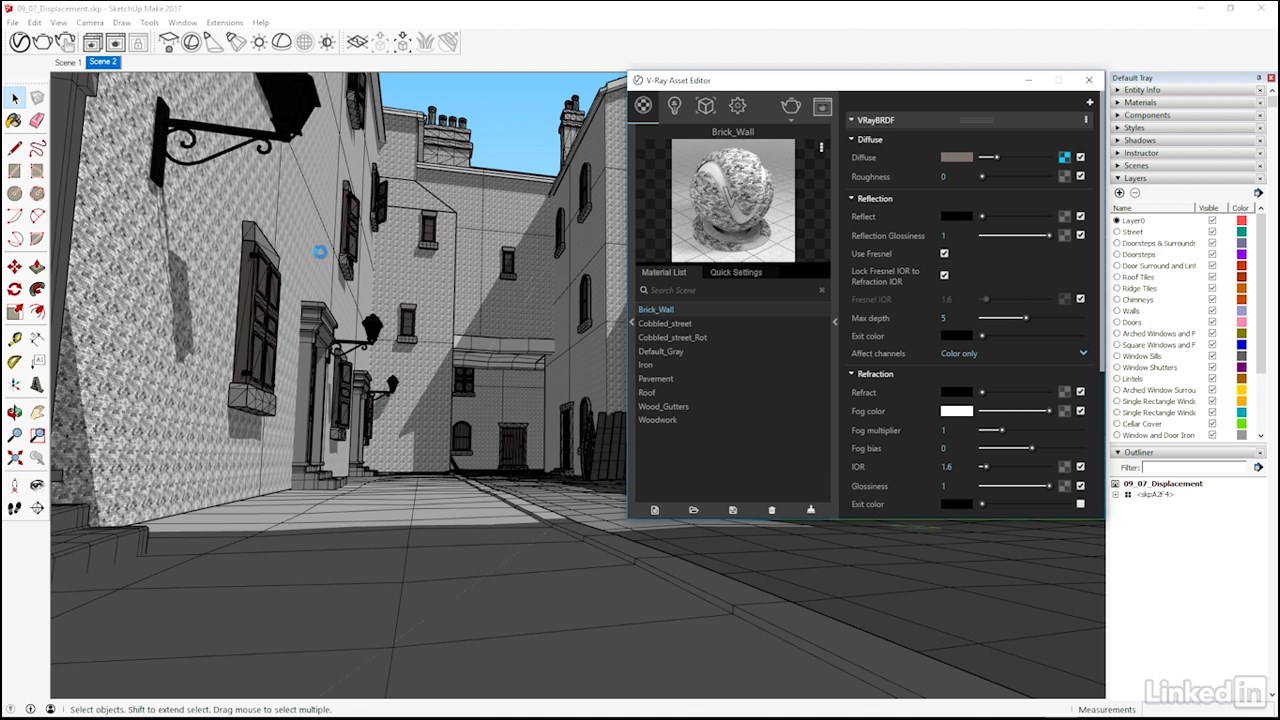
We will want to spend quite a bit of time working with the extensive V-Ray material options that can now be found in SketchUp, and so we will look, in part, at using the generic material to recreate some useful real world surface types.
Hand in hand with materials go the map types, or textures, that V-Ray also provides,
and so we will look at some of the options found there, including the triplanar, composite, and multi sub tex options.
With materials and maps taken care of, we can then focus on quality control, or image sampling, in V-Ray,
which in this version has been massively simplified, so as to help artists focus more on the aesthetic,
rather than the technical side of getting high quality renders out of V-Ray.
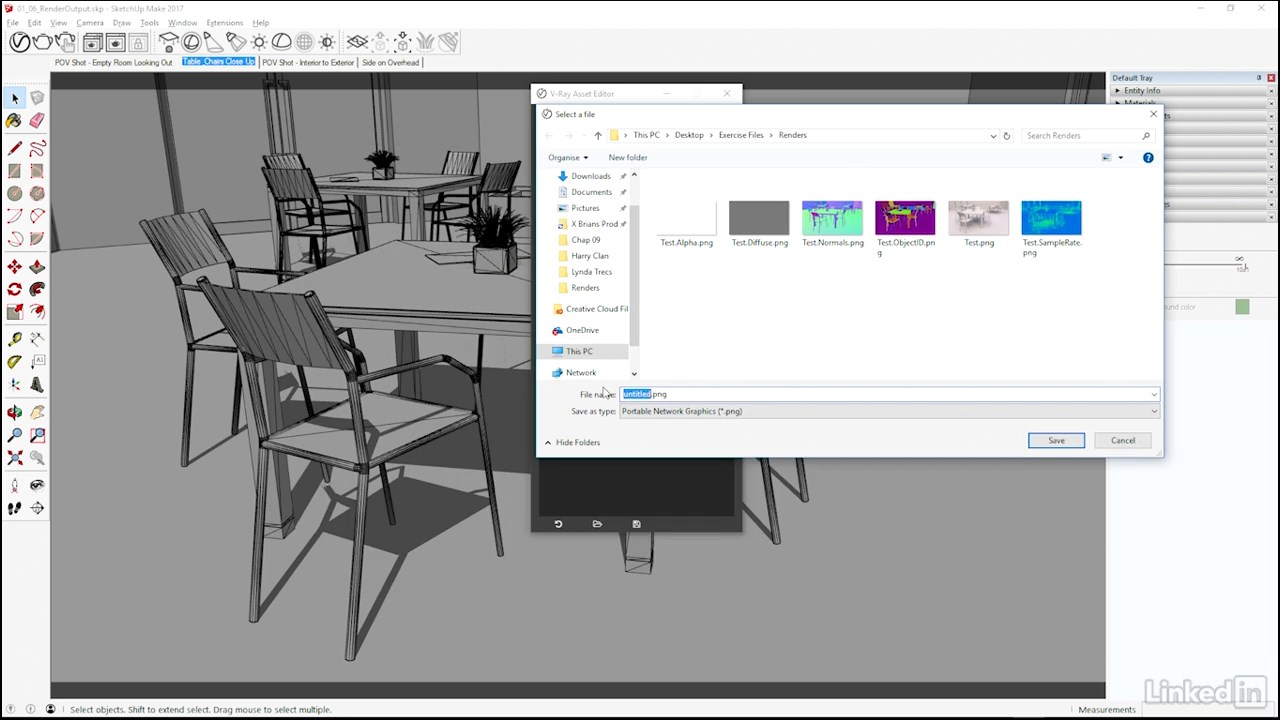
Something else to look out for will be our consideration of render elements,
which in a compositing based pipeline is an essential part of the V-Ray toolset.
Finally, we can put some of V-Ray's effects or unity tools to work,
and show how we can add extra levels of believability and quality to our renders.
Some examples found here would include a look at creating a caustic effect,
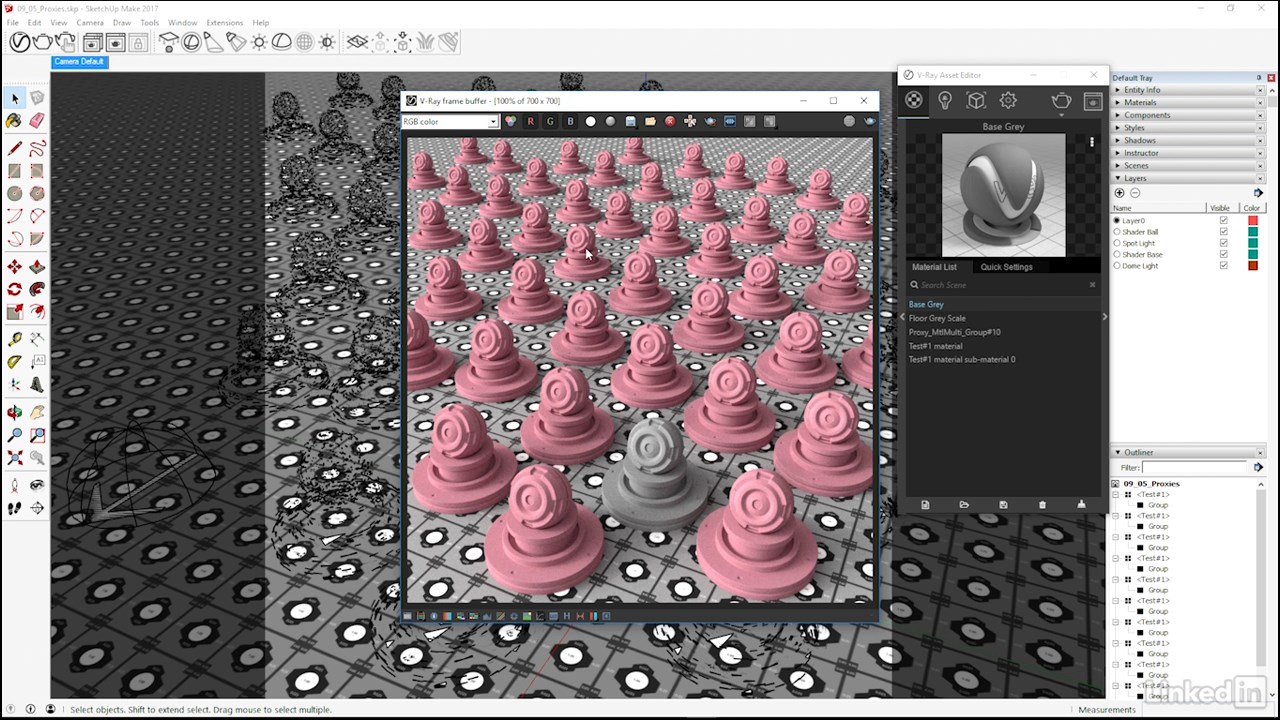
a consideration of how we can work with the V-Ray fur, V-Ray proxy, and V-Ray clipper tools,
as well as taking a look at how we can work with both stereoscopic and VR rendering in SketchUp.
As we have all of this and more to look forward to in our course, if you are ready,
we can move ahead and dive on in.

Download
UsersDrive
Clicknupload
UptoBox
MP4 | Video: h264, 1280x720 | Audio: AAC, 48.000 KHz
Language: English | Size: 2.60 GB | Duration: 04h 15m
- [Brian] Hello there. My name is Brian Bradley, and I am really looking forward in this course to taking a look at how we can make use of the extremely powerful V-Ray 3 render engine as a lighting and rendering solution in SketchUp. As the course has partly been designed to help newer users get up and running with V-Ray,
we will take a look in Chapter One at how and where we can find V-Ray tools and controls inside the SketchUp user interface, as well as having a good look at the controls found on the V-Ray frame buffer window, as well. We can then move on to V-Ray's extremely powerful and versatile lighting tools, learning essentially how to add illumination to our scenes.
This will include an examination of the V-Ray sun and sky options that can be used to add natural looking daylight to our renders, as well as at the V-Ray light types that can be used to mimic more artificial looking, or manmade light sources.
Global illumination is, of course, an extremely important aspect of photographic lighting and rendering, and so we will for sure want to spend some time working with V-Ray's powerful GI systems, which will help round out our understanding of the lighting tools available in V-Ray.
As we are going to be utilizing V-Ray as a virtual photography studio, it does seem fitting that we take a good look at V-Ray's physical camera model.
This will include learning how to handle exposure on the camera, as well as at adding perspective correction, and depth of field effects to our renders.
We will want to spend quite a bit of time working with the extensive V-Ray material options that can now be found in SketchUp, and so we will look, in part, at using the generic material to recreate some useful real world surface types.
Hand in hand with materials go the map types, or textures, that V-Ray also provides,
and so we will look at some of the options found there, including the triplanar, composite, and multi sub tex options.
With materials and maps taken care of, we can then focus on quality control, or image sampling, in V-Ray,
which in this version has been massively simplified, so as to help artists focus more on the aesthetic,
rather than the technical side of getting high quality renders out of V-Ray.
Something else to look out for will be our consideration of render elements,
which in a compositing based pipeline is an essential part of the V-Ray toolset.
Finally, we can put some of V-Ray's effects or unity tools to work,
and show how we can add extra levels of believability and quality to our renders.
Some examples found here would include a look at creating a caustic effect,
a consideration of how we can work with the V-Ray fur, V-Ray proxy, and V-Ray clipper tools,
as well as taking a look at how we can work with both stereoscopic and VR rendering in SketchUp.
As we have all of this and more to look forward to in our course, if you are ready,
we can move ahead and dive on in.
Download
UsersDrive
You must be registered for see links
You must be registered for see links
Clicknupload
You must be registered for see links
You must be registered for see links
UptoBox
You must be registered for see links
You must be registered for see links